When it comes to carving pumpkins, I don’t recall having done much of that growing up. It’s also not something that my husband and I have done with our kids. I mean, we go to a pumpkin patch and get pumpkins for us to decorate but we don’t carve them. Until this year.
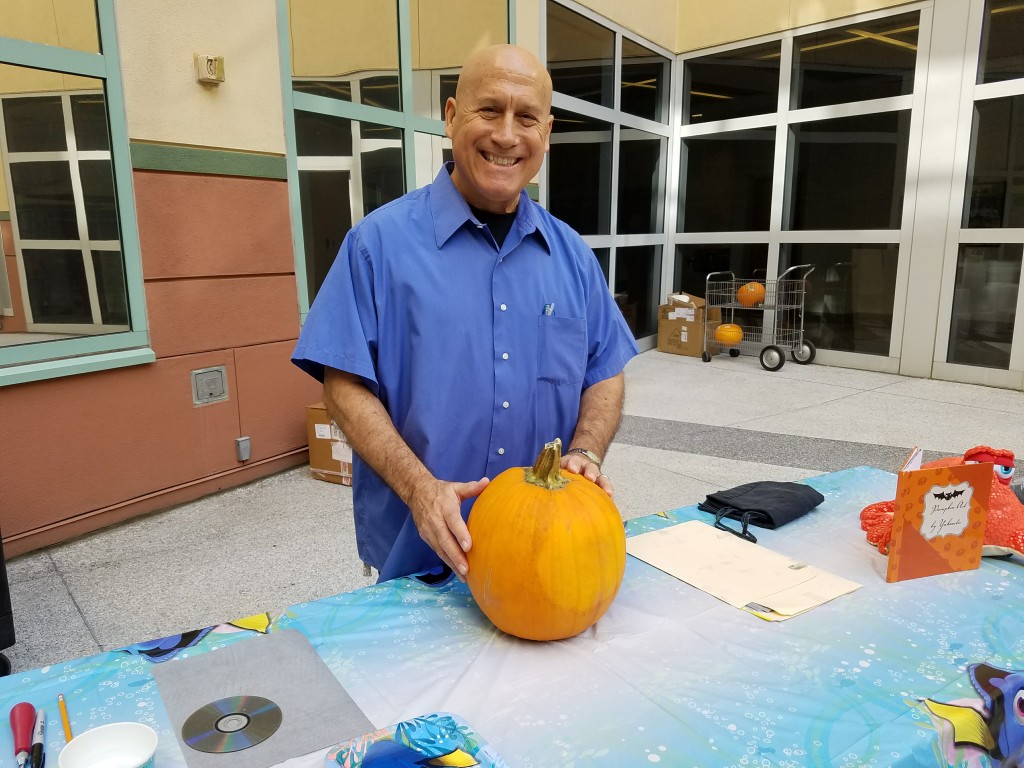
This year we carved our own pumpkins and we enjoyed it so much that I see us doing it every year. What prompted us to do it this year? Getting the chance to learn how to carve pumpkins with Joseph Yakovetic while I was in LA last week
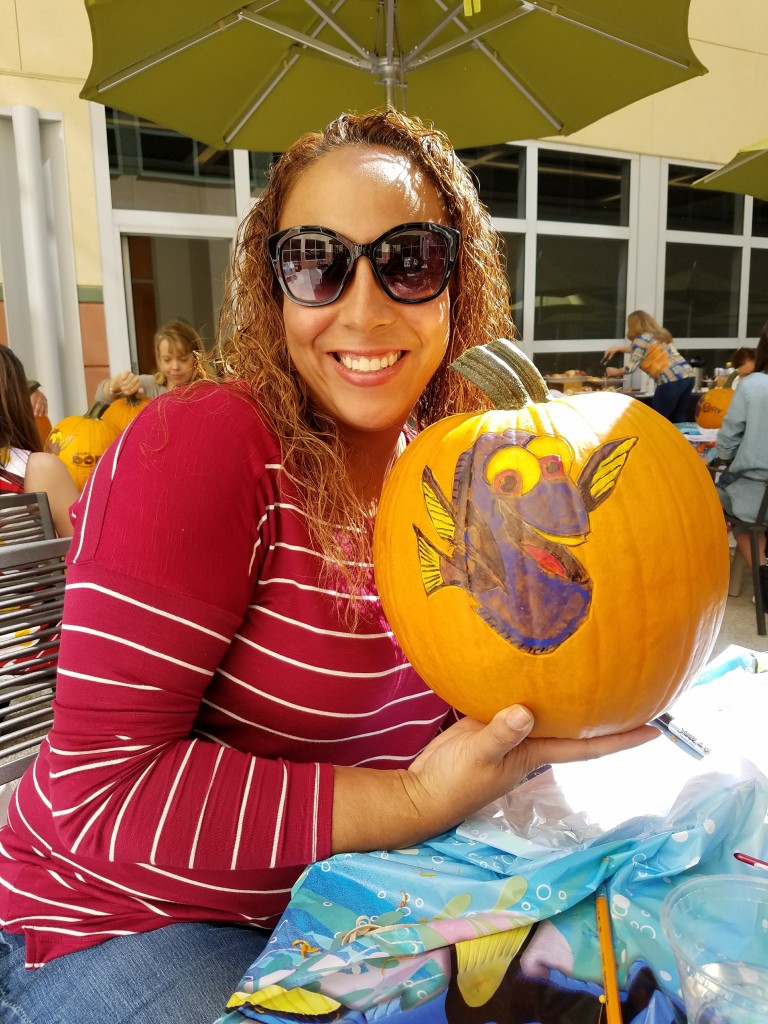
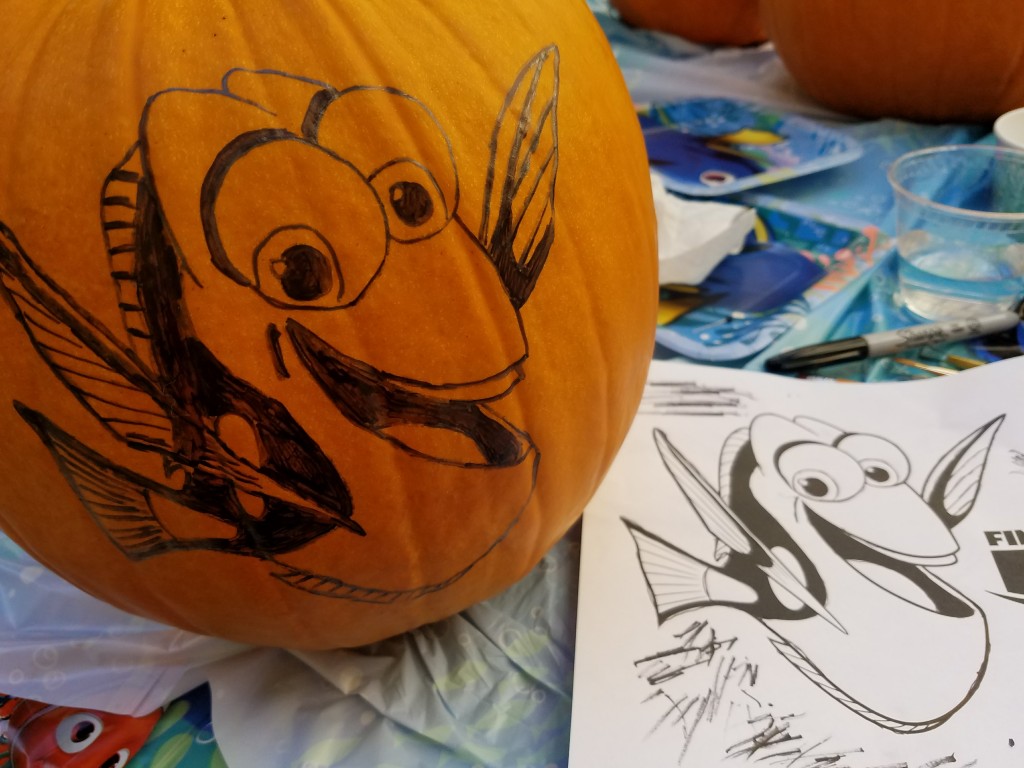
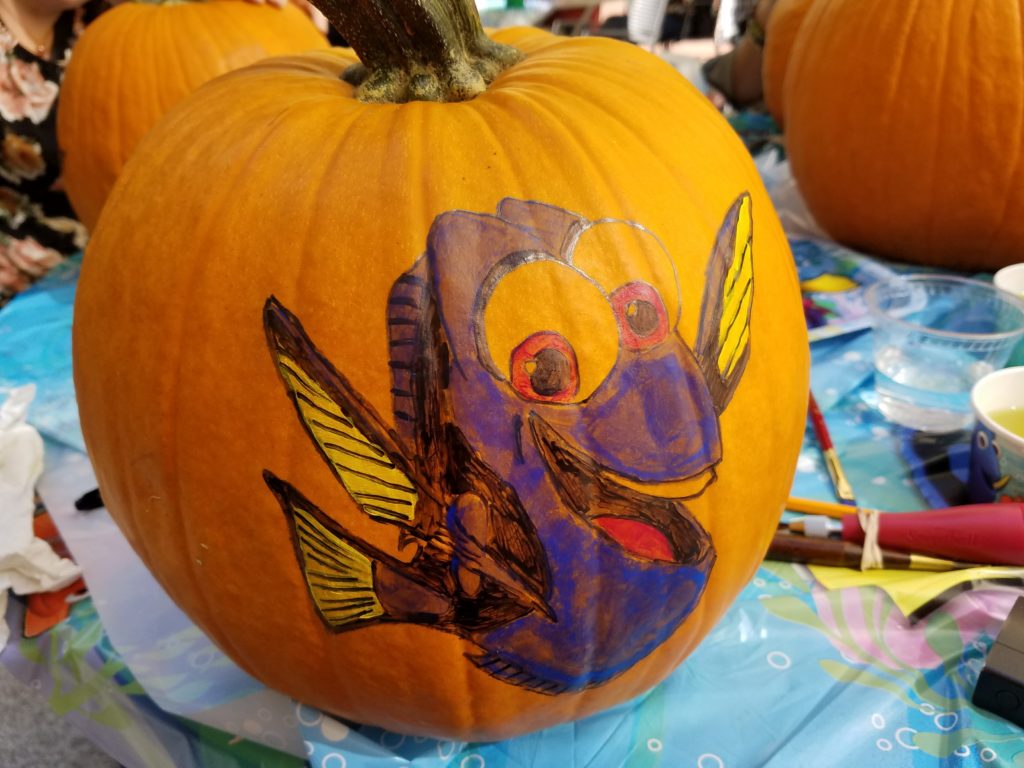
Having once worked at Disney as an illustrator, he now does some incredible artwork on pumpkins and he was there to show us how to carve Dory (of Finding Dory) onto a pumpkin. Here’s what mine ended up looking like
So here are the steps and some Pumpkin Carving Tips I learned from Joseph…
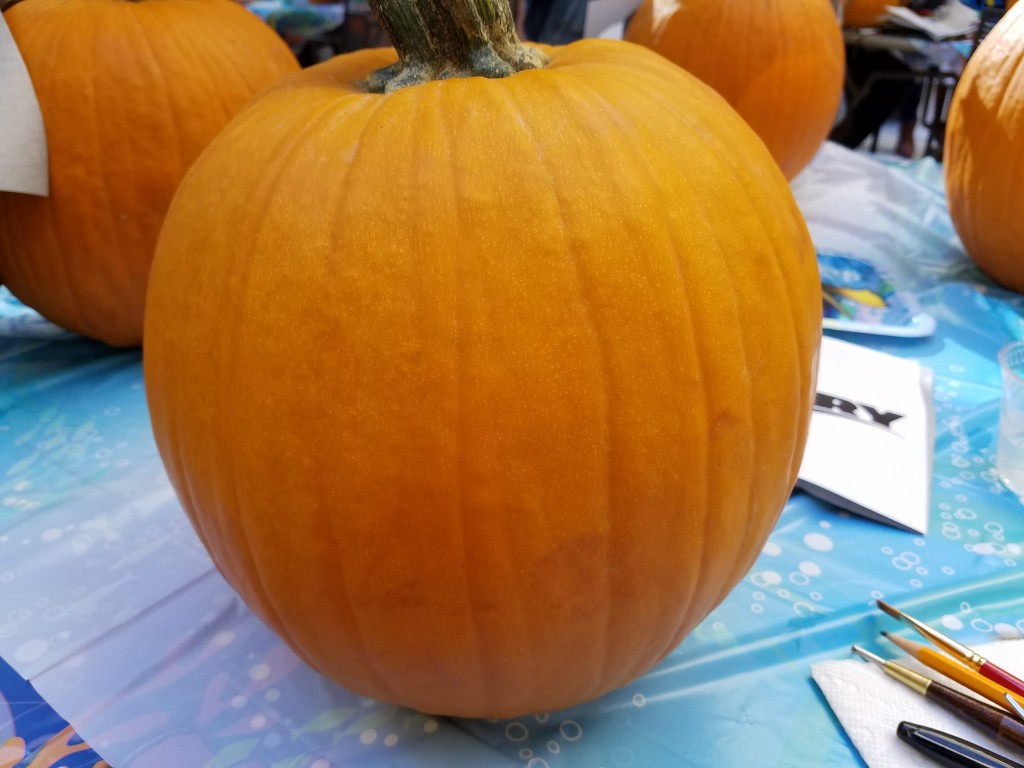
1. Clean the pumpkin with an antibacterial wipe before you start your outline.
2. Cut graphite paper to the size of the stencil *If it is the right size, you avoid getting graphite all over the place.
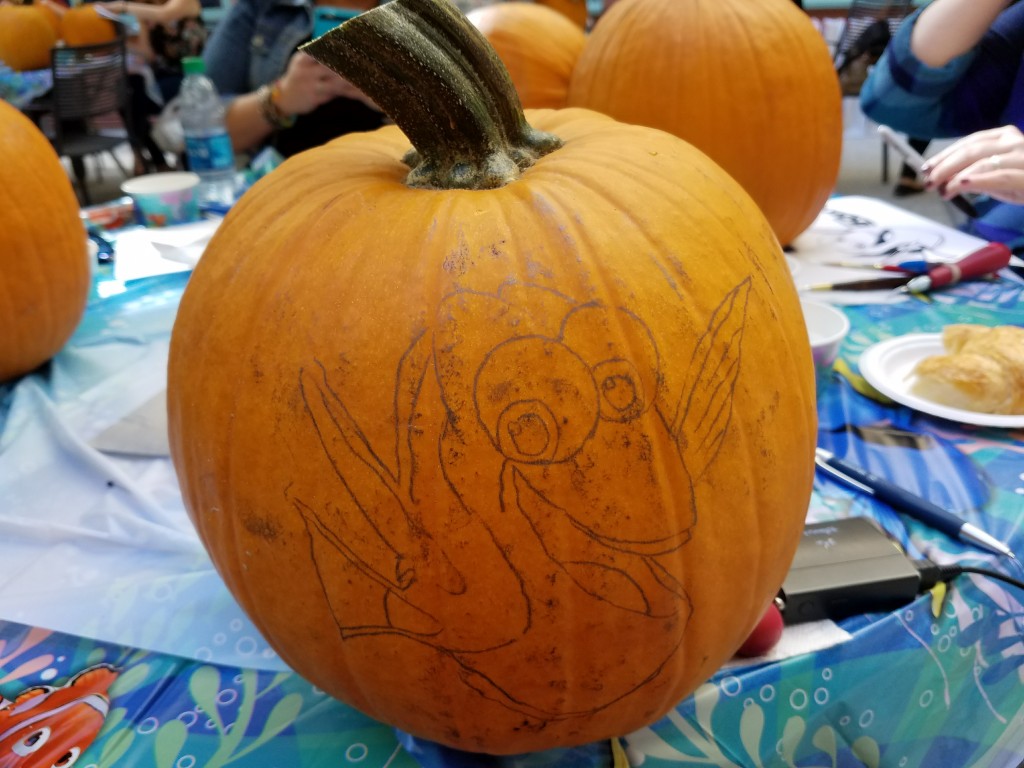
3. Position and pin the stencil with graphite paper underneath it to the pumpkin.
4. Trace over the lines of the stencil with a pencil or ball point pen. *Be careful not to lay your hands onto the stencil too hard to avoid graphite markings
5. Remove pins, stencil and graphite paper from pumpkin. *Fold the graphite paper in half to avoid a mess
6. Trace over graphite sketch with a black permanent marker and where ever there is to be black lines in the design.
7. Clean the pumpkin with an antibacterial wipe to remove any graphite markings. Trace back over any areas needed with permanent marker.
8. Mix paint with a little bit of water on the brush to create a translucent color and brush your desired colors in the appropriate areas.
9. When the paint is dry, use the linocut tool to etch out the white areas of the stencil (any part you’d like the light to shine through). In my case we did that as an outline of the character, Dory’s eyes and her teeth.
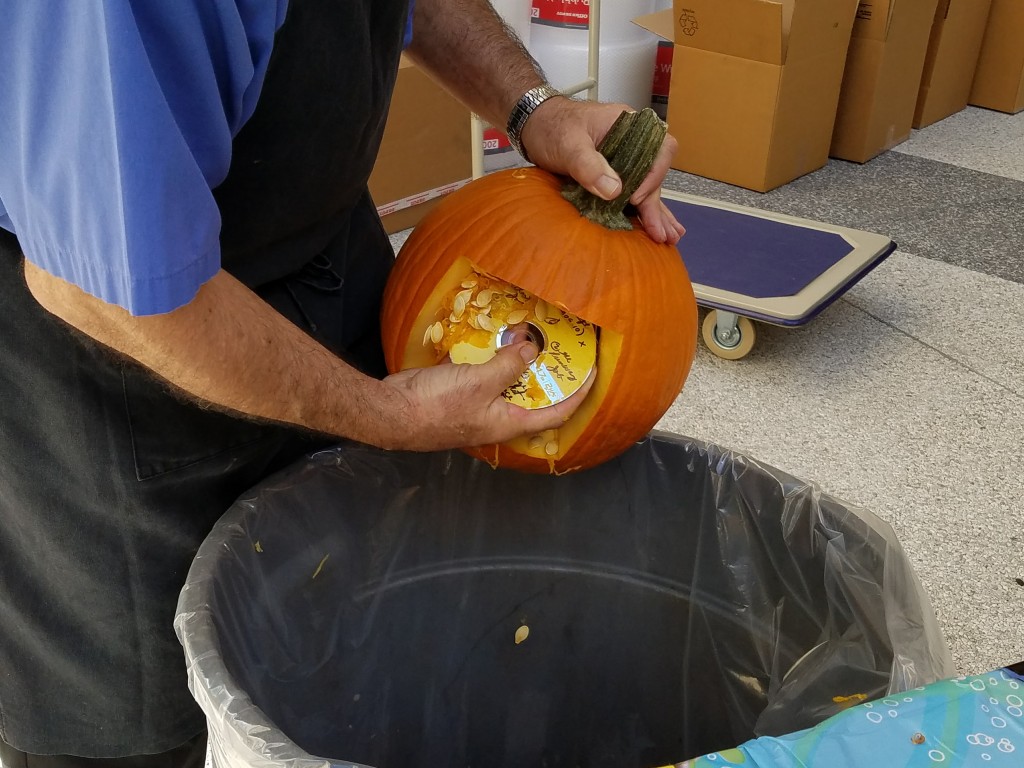
10. Cut a square in the back of the pumpkin large enough to fit your hand, gut removing tool and light source into. *Do not cut the stem of the pumpkin to make your hole, it provides the necessary nutrients to keep the pumpkin alive. **You can use an old CD to gut your pumpkin.
11. Gut the pumpkin removing all of the debris from inside the pumpkin
12. Clean up any design areas that are revealed with the light, touch up black lines or colors.
13. Place an LED candlelight inside your pumpkin, turn off the lights and display your masterpiece! *Do not use candles
Additional Pumpkin Carving Tips
- Store the gutted and cleaned pumpkin in the refrigerator when not on display to preserve its life. DO not leave it outdoors.
- Do not cover your pumpkin in plastic as it may cause mold.
- If mold starts to form use the CD, to remove interior mold and spray with 50/50 water and bleach.
You can see a video of how he did it here:
Finding Dory Halloween Activities
Disney Pixar’s Finding Dory, swims home on Digital HD and Disney Movies Anywhere (DMA) on Today, Oct. 25th and on Blu-ray 3D™, Blu-ray, DVD and On-Demand on Nov. 15. You can pre-order your copy today!


